I first encountered Luminosity Maps on Tony Kuyper's web site. The concept is an absolutely wonderful mechanism for setting up feathered filters for making adjustments to various areas of a photograph. What follows is a summary of some of the highlights of the tutorial.
The important key strokes:
- ctrl-a: select all pixels
- ctrl-d: deselect all pixels
- ctrl-click: on the channel thumbnail to select
- shft-click: disable the mask
- shft-ctrl-I: invert selection
- alt-ctrl-click: subtract mask from current selection
- shft-alt-ctrl-click: on same mask for intersection operation
Details of the process:
- A luminosity mask is a mechanism for making selections based upon the brightness of pixels in the image. Overall luminosity can be selected with the RGB channel. Use individual R, G, B channels for specific tailoring of colors. When selected, Photoshop puts 'marching ants' around the pixels whos values are at least 50% gray or brighter.
- In the layers list, click on channels. Then control click on one of rgb, r, g, b channels to create the selection. Then use the button at the bottom to save the selection. Use these saved layers to further refine the selection.
- This is in contrast to the Marquee, Magic Wand, and Lasso tools, which when saved as a curve layer, will be totally black or white. Blurring, feathering, and anti-aliasing could be used to soften the edges of the transition of these tool types.
- Use the shft-alt-ctrl-click operation to further sub-select (intersect) the last created mask
- To create the dark selections, start with a light one, invert it, then intersect each new one
- Mid-tones are created by subtracting a matching light and dark mask. The mask may appear very dark. An extremely steep S-curve (almost a backwards Z-curve) in the curves dialog can create a noticeable change in the image. It often makes a very good enhancement to saturation and contrast.
- Once the mask is selected, save it with the 'Save Selection' button on the lower part of the panel.
- Once the basic masks are created, use some combination of them to select the area of interest, then flip to the layer palette, use the half white/half black circle which is the "Create new adjustment layer" button and choose 'Curves' from the pop-up. 'Curves' is the usual selection, but other selections can be used in a similar fashion.
- The masks could be used in a manner similar to High Dynamic Range images. The masks can be used to blend appropriate bright and dark areas of an image together.
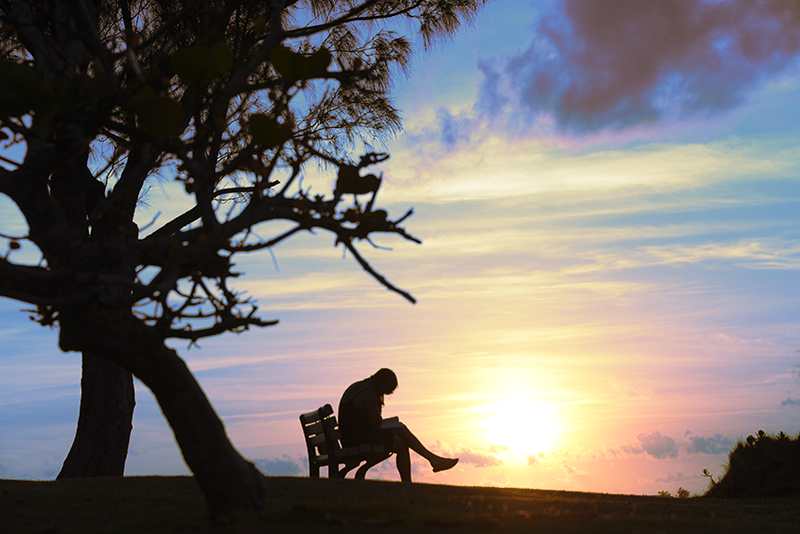
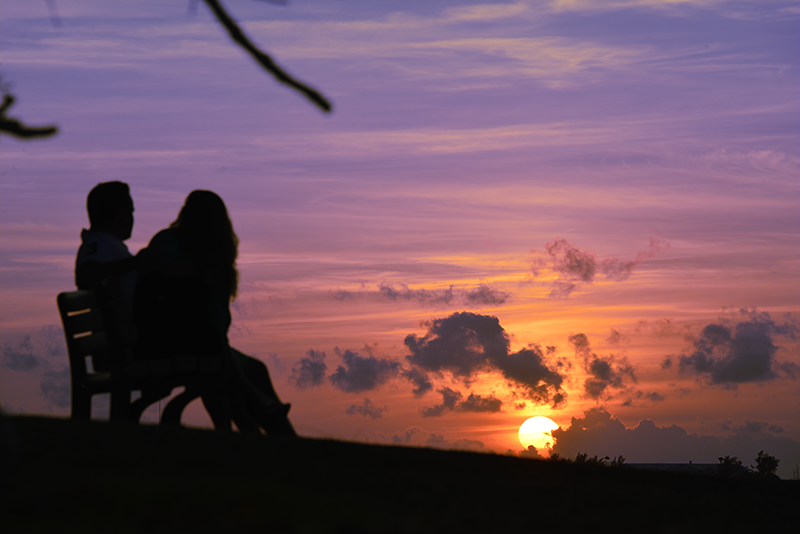
These concepts were used to enhance the colors in the sunset photographs found in my previous blog post.